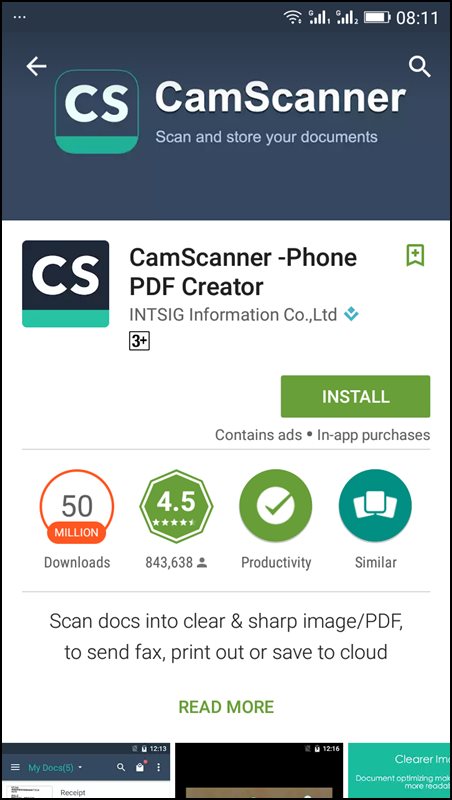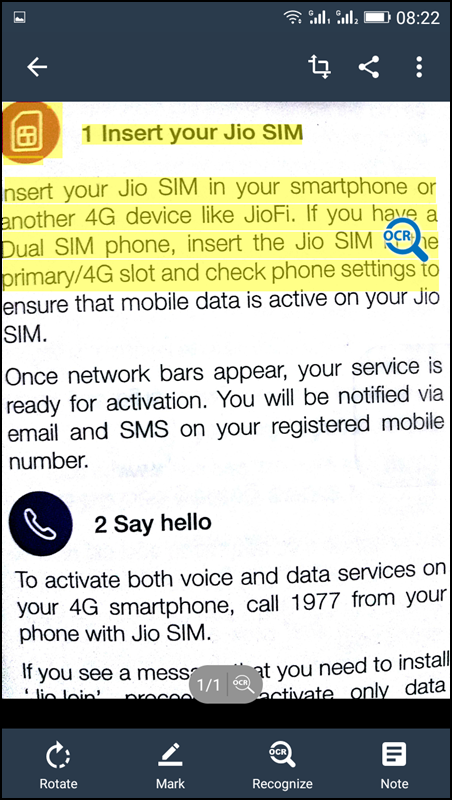
Today I am going to share something interesting which will be very beneficial to most of us. I want you to meet the App named Camscanner. Guess what, it is an Android app which manages to offer the feature of Optical Character Recognition in your Smartphone, in other words, it scans the images with the help of your Phone camera and it creates the TXT file of the scanned images. In short, it acts as a portable scanner.
How to use Camscanner As a Portable scanner for your Phone?
There are few easy steps which you must follow if you want to convert your Android smartphone into a portable scanner. But let me clear you one thing, first it is a third party app, but there is no risk of your privacy being broken because this app is from trusted developers of Android. Follow the Steps clearly
Step 1. Before installing Camscanner in your Android Smartphone, first Reboot your phone and then install Camscanner by clicking HERE. Once installed Launch the app in your Android handset.

Step 2. Now you will be redirected toward the Login/Register Screen. Register if you are not registered and in case if you already registered simply login with your User Id and Password. This is a paid app. But Camscanner is giving away the 30 days free service for new users.

Step 3. If you completed the registration part, Camscanner will be ready to use, you can see the camera icon on the downside of your display and you need to take your camera closer to document in order to focus the words.

Step 4. After the camera is adjusted, you need to click on Tick option that is on a right side (down) of the app. It will automatically start scanning and saving your document in TXT or PDF formats. All done.

Now you can easily transfer your scanned files to your computer by locating its destined folder.
Using Office Lens

Office Lens is like having a scanner in your pocket. Like magic, it will digitize notes on whiteboards or blackboards. Always find important documents or business cards. Sketch your ideas and snap a picture for later. Don’t lose receipts or stray sticky notes again! Let’s know how to use it.
Step 1. First Of all, you need to download Office Lens from Google Play store and install it on your Android device.

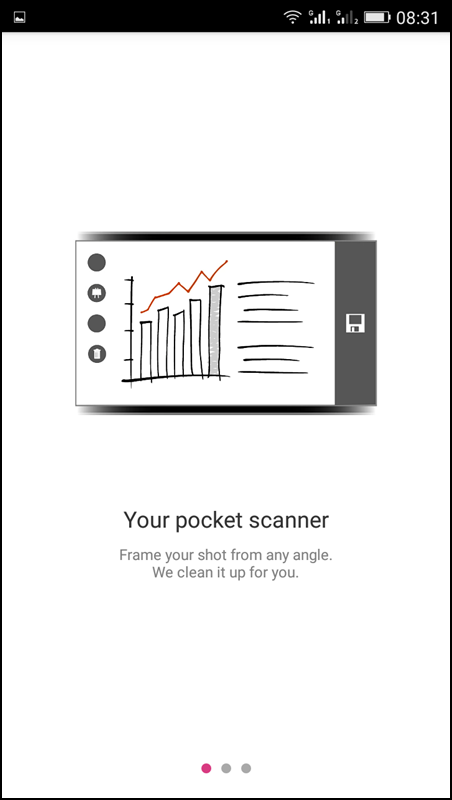
Step 2. Now you will see the welcome screen of Office lens where you will be given a short tutorial on how to use it.

Step 3. Now you will see the camera opens up. You just need to focus on the image that you want to scan and simply click the image.

Step 4. That’s it once done, simply tap on “Save” and choose your desired format. Your scanned documents will only get saved on your Microsoft account.


Really wonderful post, keep posting your updates:
ReplyDeleteClick on:Recovery Tool
Diskdiggerproapk
Get Back Missed Data
TheBestTool
Diskdigger
Dig Deep
Thanks for sharing your valuable information on this article. This post is helpful to many people.stock4all is a stock related website which provides all stocks related information like new stocks and shares available in the stock market.
ReplyDeletePAN card
Nice Article. Thank you for sharing the informative article with us. Bigo Live APK is the best app to recover lost files.Click the below link to know more about
ReplyDeleteBigo Live APK
Bigo Live for PC app
Live streaming
Bigo Live app
Bigo Live online